List
of Products, Tools and Materials Used
·
Acrylic paints
·
A range of old paint brushes
·
Sponges
·
Grease paints
·
Paper towels
·
Plastic pots
·
Plastic cups
·
Gown for model
·
Cotton buds
·
Blood
·
Pros-aid
·
Talc Powder
·
Cabosil
Step-by-step
Instructions for the Final Application and Assessment
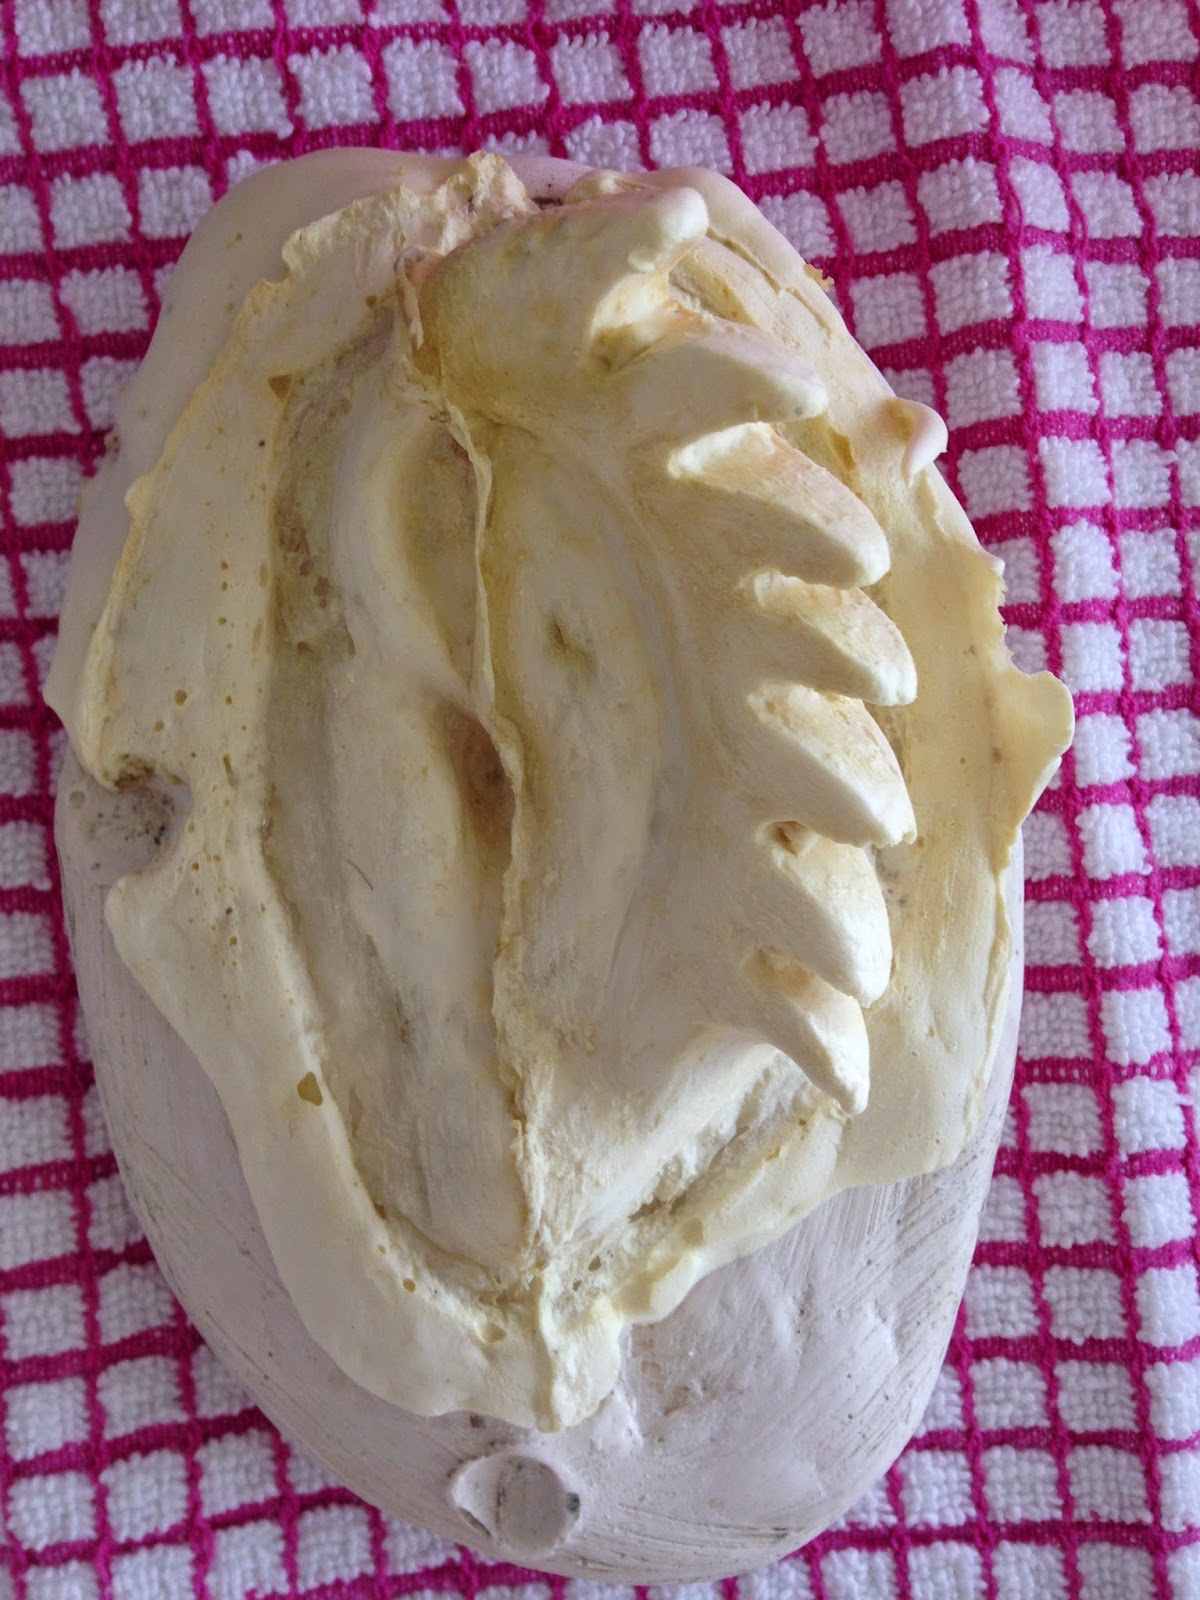
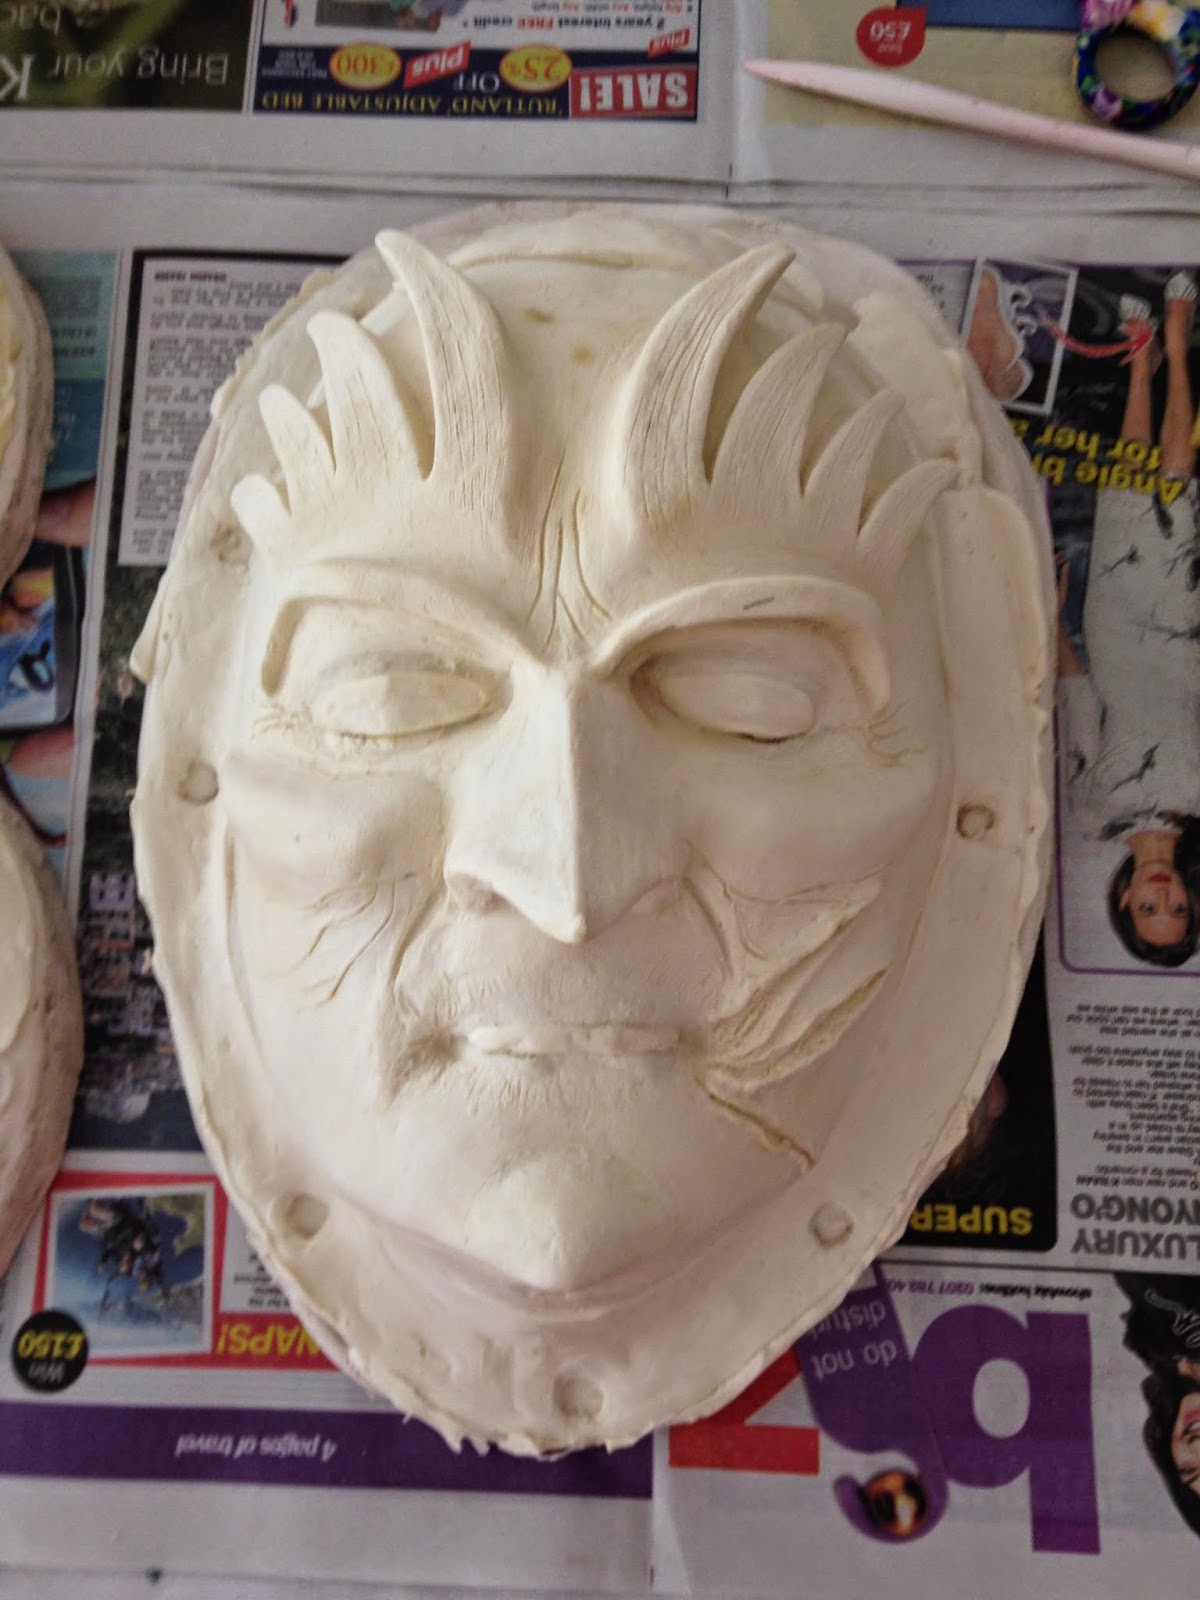
After the practise I made
another Prosthetic face piece and ears. Theses turned out great with amazingly
thin edges that I knew would blend well. As the edges were so thin I kept it
attached to the excess foam until I was literally putting the pieces onto the
model so they wouldn’t curl under. This is the process of applying the piece.


1. To start with I wanted to pre-paint the base coats on the prosthetics. To do this I placed the ears and face piece back onto the casts of my model to secure them whilst I painted.


2.
For the first part of colouring the
prosthetics I used “Paxpaint”. This is a mix of pros-aid and acrylic paint. The
pros-aid stops the acrylic paint from cracking. The colour that I mixed needed
to be darker than the colour of grease paint I would be using on the top layer
this cancelled out the white of the prosthetic. As I wanted a flesh tone for my
character I mixed a coarl colour. I did this by mixing red, pale brown/almost
gold and white. Once I had the colour of paint I wanted I mixed the pros-aid in.
It was the amount of about half of paint.


3. Next I mixed another “Paxpaint” the same colour but added a lot more white to make it paler, this was to bring a more natural skin tone to the prosthetic. I again used a sponge to stipple it onto the face piece and ears.


4.
The prosthetic face I decided to leave and
colour with grease paints once it was on the models face to avoid smudging it.
The ears however as they were small I decided to colour before as they would be
easier to correct if a problem had occurred.


Using
a paint brush and sponge wedge I started by applying grease paints, firstly a
natural skin toned base. Then in the creases of the ears I added a dark brown
this gave the ears more definition and a 3D effect. The spikes of the ears I
painted red and used a dark red/black on the edges to give them some shadow and
again create a defined look. I did the same on both ears then powered them with
talc to take the shine away and set the grease paints.

5.
Now it’s time to start applying the
prosthetics to my model. I made sure my model had already changed into the
clothes I wanted him to wear for the photo shoot then covered his clothes with
a gown.


6. I started with applying the ears. Using a cotton bud I dipped it into pros-aid which I then applied to the back and around the models ears. While I was waiting for the glue to go tacky I tore away the excess foam. I placed the prosthetic ear onto the models and held it down to stick. I went around the edges making sure they were stuck down well with as smoother edge as possible. I then did the same with the other ear.


7.
Moving onto the face I tore the excess form
off the piece, again I was left with great edges. I started by applying the
pros-aid glue onto the middle of my prosthetic piece, this was the nose so I
also applied it to the models nose. I started in the middle as it’s easier to
the get the positioning of the prosthetic right by working outwards from the
middle.

8.
I then worked up the face sticking the
prosthetic down a bit at a time. After I then moved onto the cheeks and then
the chin. Once the whole of the face area was stuck down I lastly glued the edges
around the eyes and mouth.
9.
Even though the edges were very smooth I
still went round them with cabosil. This smooth’s out the edges even more.


10. When
this had dried I then moved onto the colouring of the face. With the “Paxpaint”
I had saved in tubs earlier, I painted the edges where I had left the gap,
using a sponge to stipple it on.
11. I
then powdered the edges with talc and moved onto using the grease paints. Like
the ears I used a natural skin toned base all over. I then painted the spikes,
mouth, eyebrows and eye area red again using a dark red/black to add definition
and make the eyes look more sunken.
12. With
a very thin brush I then painted in the veins a purple/red and dabbed over them
to make the veins appear more blended.
13. To
add some definition and structure to the cheek bones I added a darker colour
underneath with a blue and brown. Then I highlighted above the cheek with a
paler skin tone.
14. To
set the grease paint I then powdered the face with talc and this took the shine
away.
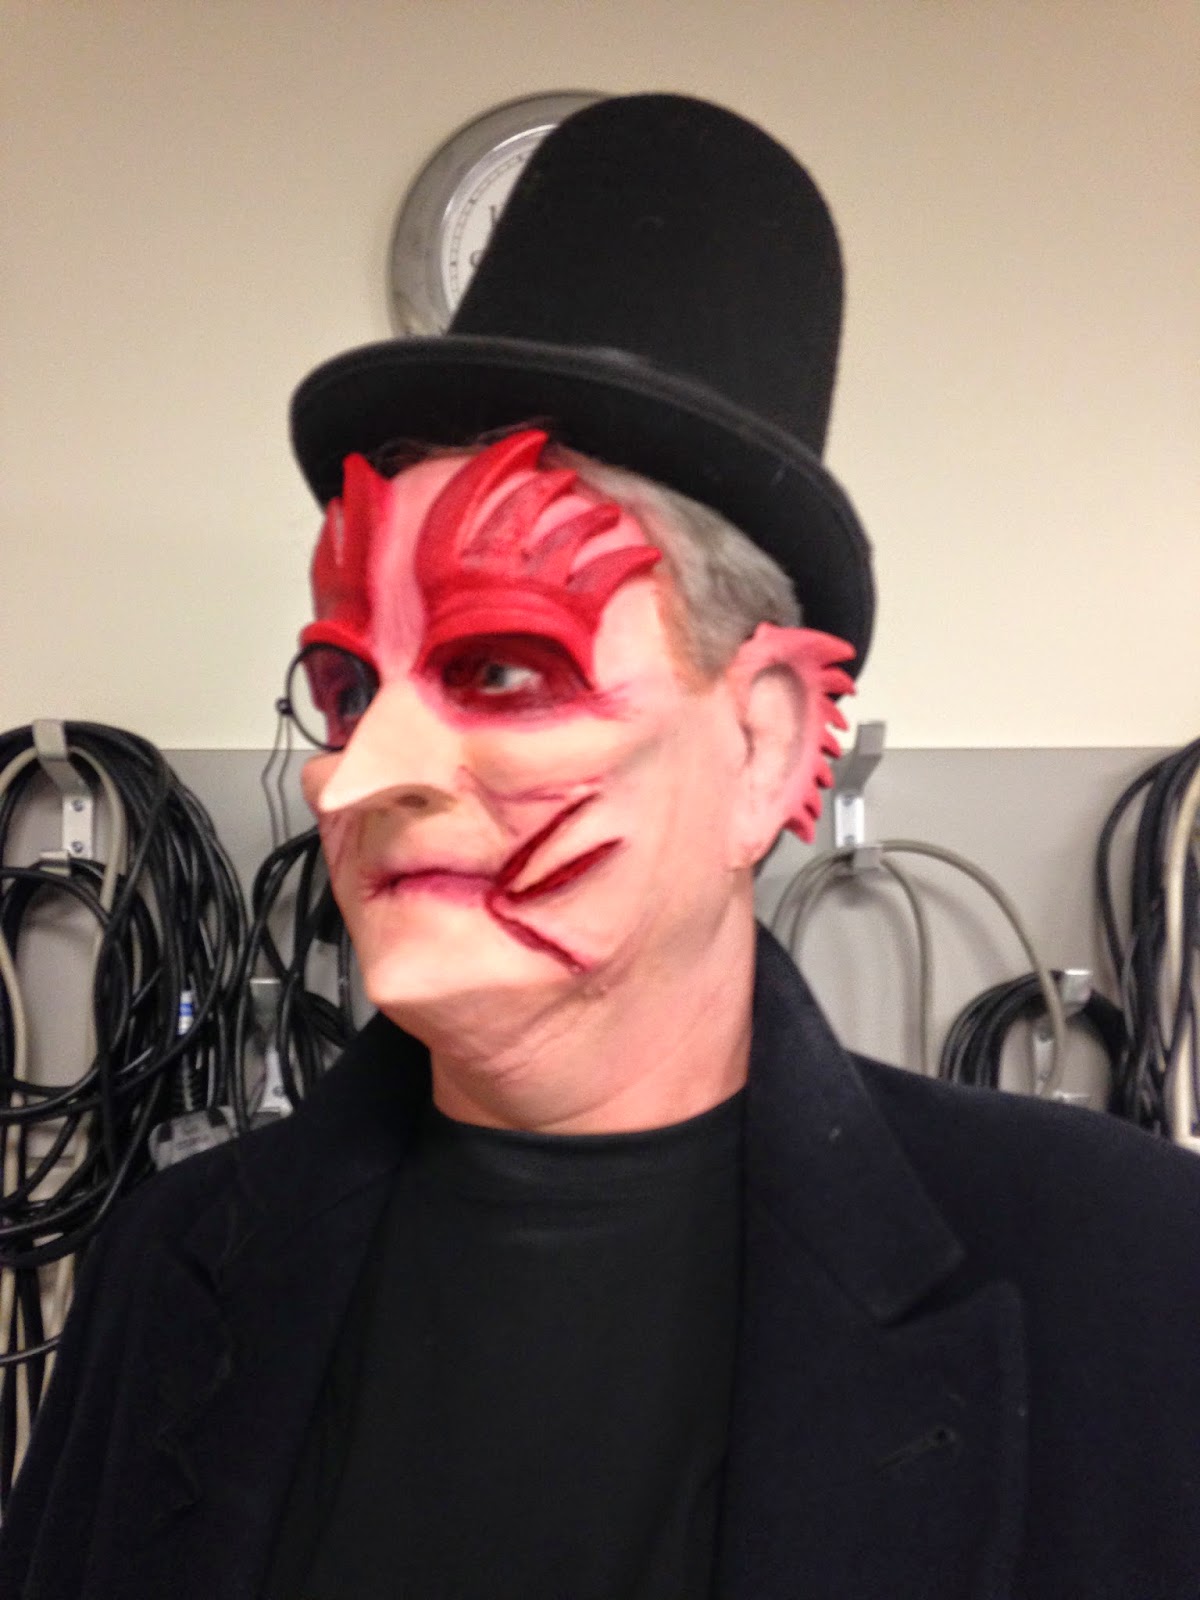

To finish the look my model
wore a top hat, monical, kane and long black coat. I was really excited about
the finished look and very proud of it.

Here’s the a final picture
and Thank you for following my blog.

No comments:
Post a Comment