·
Mold Release
·
High Solids Latex Foam Base
·
Standard Curing Agent
·
Microcellular Foaming Agent
·
Standard Gelling Agent
·
Mixing Whisk
·
Paint Brush
·
3 Tie Down Ratchet Straps

Step-by-step
Instructions for Casting the Appliance
1.
Now the two casts have been cleaned I can make
my Latex foam prosthetic piece. Firstly I coated the cast that is the negative of
my sculpt with mold release. This stops the mould of the sculpt getting stuck
and makes it easier to separate.


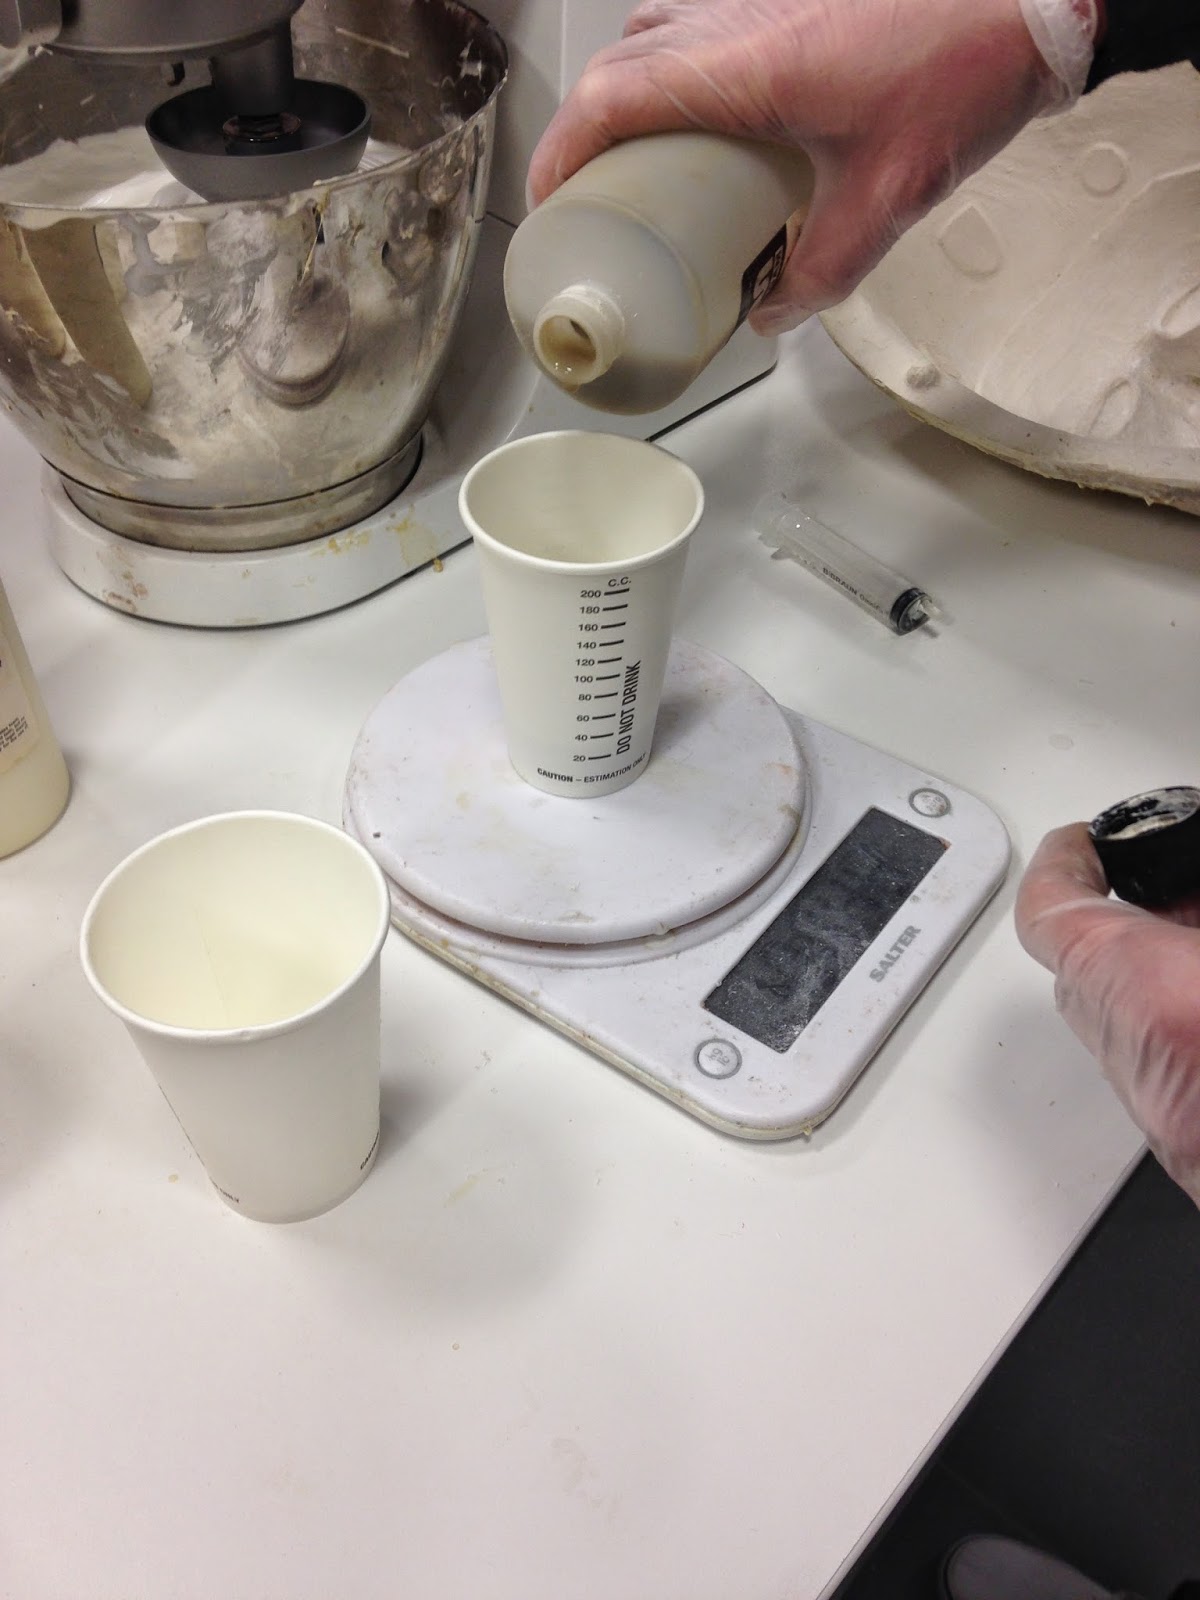
2.
I then started the mixing process. In the
mixing bowl I added 300 grams of the Base, adding 60gs of the Foaming Agent
(20% of the Base) and 30gs of the Curing Agent (10% of the Base). This would be
enough to mould both the ears and the face cast.


3.
I put the bowl back under the whisk machine
for 4 minutes on the highest speed setting.


4.
After 4 minutes I turned the mixer down to
the lowest speed setting for 6 minutes. This is to break down the large
bubbles.

5.
After the 6 minutes keep the whisk moving on
the lowest speed for another 2 minutes then start adding the gelling agent. The measurement
for the gelling agent depends on the room temperature it needs to be between
10%-15% of the base. If the rooms warmer, use less and if the rooms hotter use
more of the gelling agent. I used 35g. Syringe the gelling agent slowly and
evenly around the bowl to stop it from turning the foam into a lump. Then also
use a spatula to help mix it well. After the 2 minutes switch the whisk off.


6.
Now the mixture is ready it’s time to fill
the casts. Start by brushing in the foam, pushing it into the detail of the
face and ears. Then scoop the foam into the casts.


7. With the cast of the models face and ears press them into the casts of the sculpt. Hold the two halves together firmly to push out the excess foam you should feel the two cast lock together. Then place the ratchet straps around the two casts to hold them together more tightly.


8.
Once the foam has set the casts are then
placed into the oven which is at about 80 degrees for approximately 3 and a
half hours.
9.
When the casts have “cooked” turn the oven
off but leave them in another 5 minute to slowly cool as the sudden change in temperature
could crack the casts.
10. When
you take the casts out wrap them in a towel to try keep the heat. Again this is so the temperature is lowered slowly.
11. Once
they have cooled remove the ratchet straps. With a screwdriver place it between
the two casts and slowly separate them. Don’t force it open as it might rip the
foam mould. Once I had removed one half I was then able to carefully peel the
mould off the second half.
12. I then
had my final pieces which I washed with water and fairy liquid to remove any
chemicals. It was then ready to use on my model.


13. If the
cutting edges were really good on the casts, the mould should have very thin
edges as shown on the picture below. The cutting edge is where I left the gap
between the clay on moulding part 2 stage.


My first attempted of making
the face prosthetic wasn’t great as the edges came out to thick. However I just
used this one as a practise piece. The second prosthetic face piece and the
first one of the ears turned out amazingly. The edges were incredibly thin
which was perfect at it means they will blend really well into the skin. Now I’m
looking forward to applying this for my assessment and seeing the final
results.
No comments:
Post a Comment